 I can only assume there are thousands of unopened letters to publishers of sewing books from angry readers demanding to be refunded for the printing cost of the napkin “pattern” they just discovered splayed across pages 6 and 7 of their latest purchase. I am sorry if you yourself have published an annotated collection of summative essays detailing the subtle art of sewing squares, but for everyone else, I think you’d appreciate that a 2-page illustrated napkin guide is kind of overkill. Just to get us all on the same wavelength, to my mind, sewing a napkin is as follows: 1. Cut a square the size you want your napkin to be and add a wee extra for hemming. 2. Hem the square. 3. Repeat steps 1 and 2 for as many times as you damn-well please. I am not suggesting the ease at which you can make napkins should detract in any way from their all-round awesomeness. They are a seductively simple way to bring a touch of class, glamour, danger (I mean, they are your napkins after all) to your table and tied in sets of 4, 6, 8 (or, depending on your nationality, perhaps sets of 12-24) with lovely ribbons as gorgeous gifts.  (Side note: If you receive a set of beautiful cotton linen napkins from me as an extra-special handmade birthday or Christmas gift, I expect you will think of napkin creation as something requiring a 2-page explanation, not as the one I have listed above. After all, I expect to be thanked wholeheartedly for the great time and effort I have invested in your gift). Advanced class...Okay, so if you want your napkins to really "wow" your guests (if you're relying on the napkins for this, perhaps you might also consider Googling “great dinner party conversation starters" - just a thought) you can add a bit of extra fanciness to your posh hemmed square. A double stitched hem adds a nice touch (you can use a twin needle for this, however, I simply top-stitched twice): 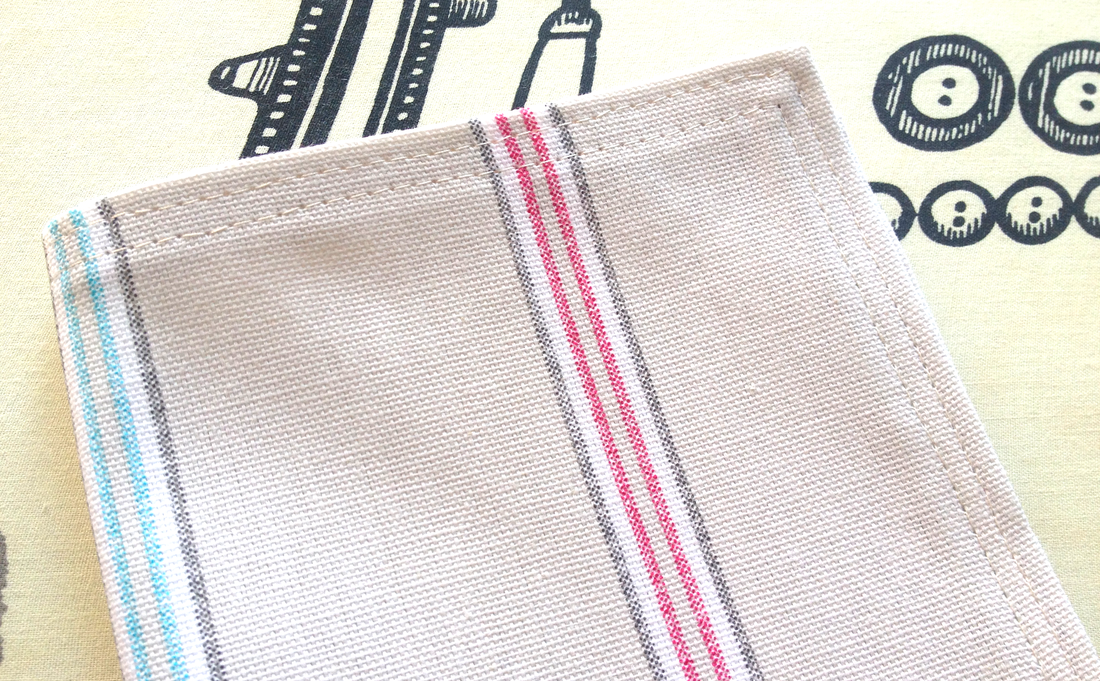 Or, my pièce de résistance, mitred corners. As you can imagine, double hemming a heavy cotton square will leave you with bulky corners, a bit like this: 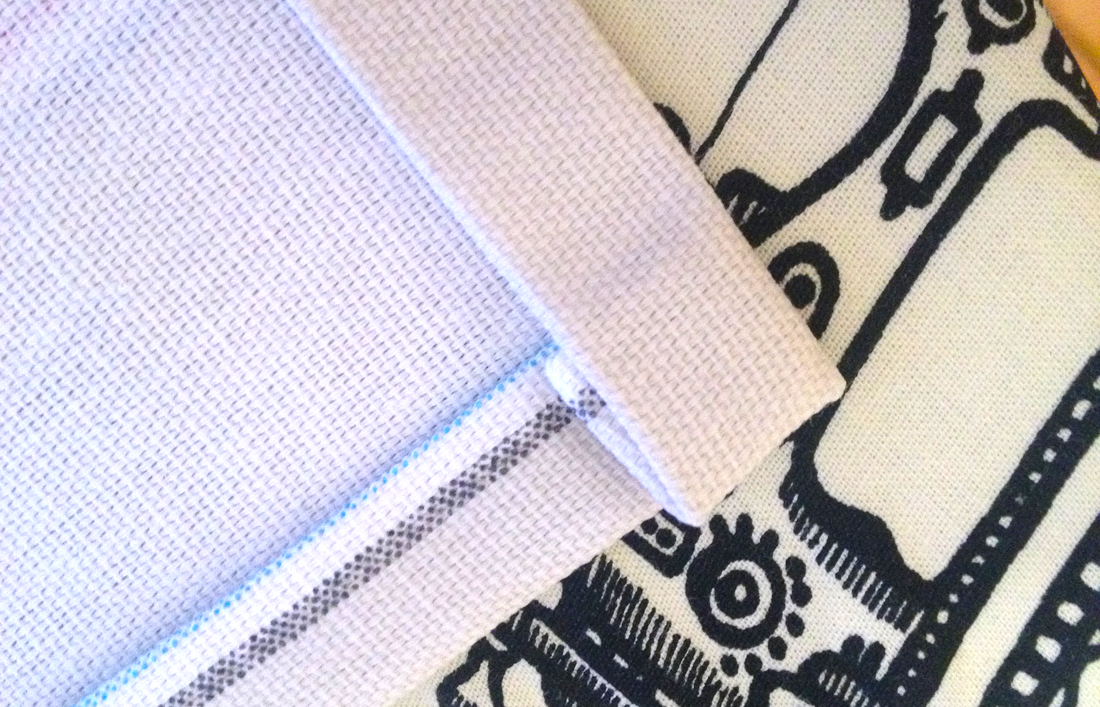 Alas, don't fret (I know you weren't really fretting, I'm just trying to build a bit of atmosphere here) you can mitre the corners. There are some great YouTube videos to teach the technique (and believe me, by napkin #5 you’ll be putting the instructor to shame). I used this one. 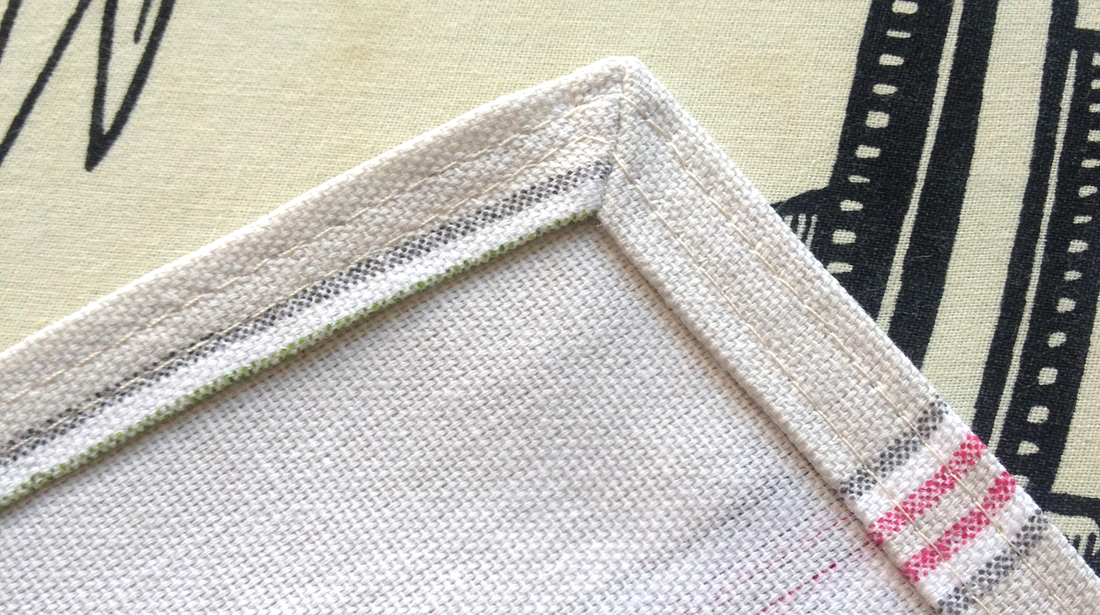 Voilà!
2 Comments
15/7/2014 02:35:00 am
This is actually ridiculously handy. I didn't even think about the fancy part; mitred corners! My new tie dyed napkins are gonna be so tight now xo
Hayley
15/7/2014 11:52:27 am
Nice one Tracey! (Honestly - I'd welcome a guest post on tie-dying any day). In the video, the instructor has the benefit of mitring a large seam which doesn't exactly translate to the 1cm-ish size you'll want for your napkin. She is also sewing a single-fold seam, whereas you will probably want to fold a seam and then fold again (being that the back of the napkin is pretty readily visible). In my first attempt, I was being a bit lame and attempting to sew perfectly to my ironed crease etc with marked-up guidelines and all sorts. By napkin #2, I realised this was entirely unnecessary and a complete waste of time which could otherwise be spent living, sleeping or eating something glorious. As long as you sew vaguely on the line, the corners turn out perfect (to the naked eye - I promise). Good luck! xx Leave a Reply. |


The detail...A big dollop of love from my finger tips to your screen (I promise that's not as creepy as it sounds). xx Categories
All
Archives
April 2018
|
 RSS Feed