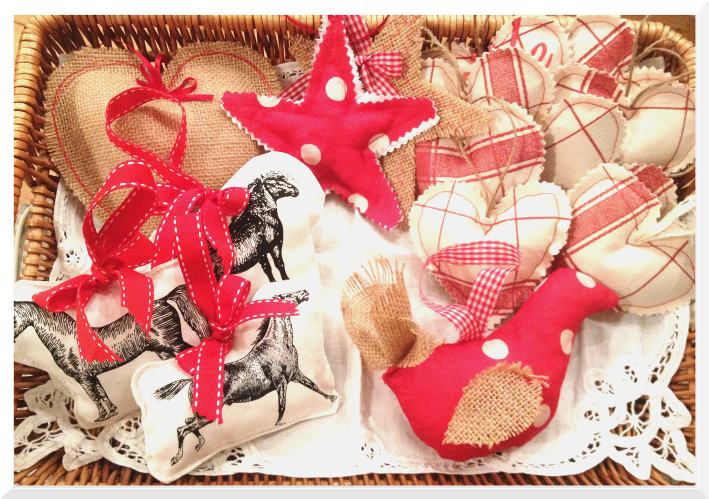
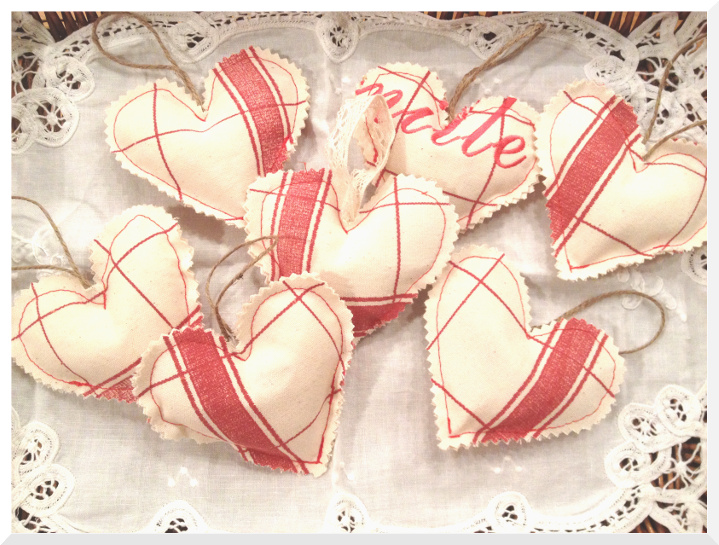
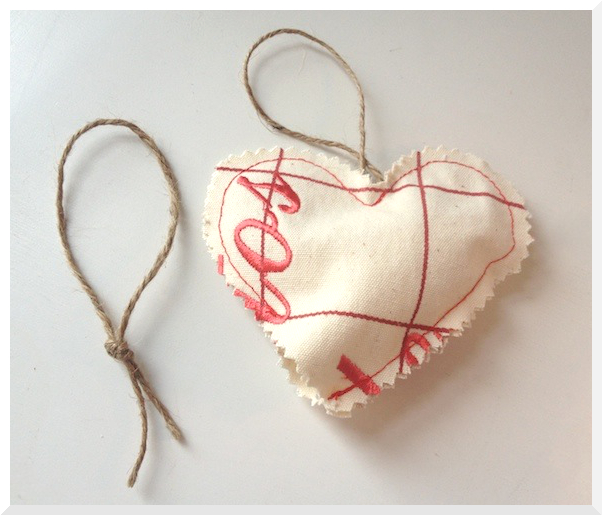
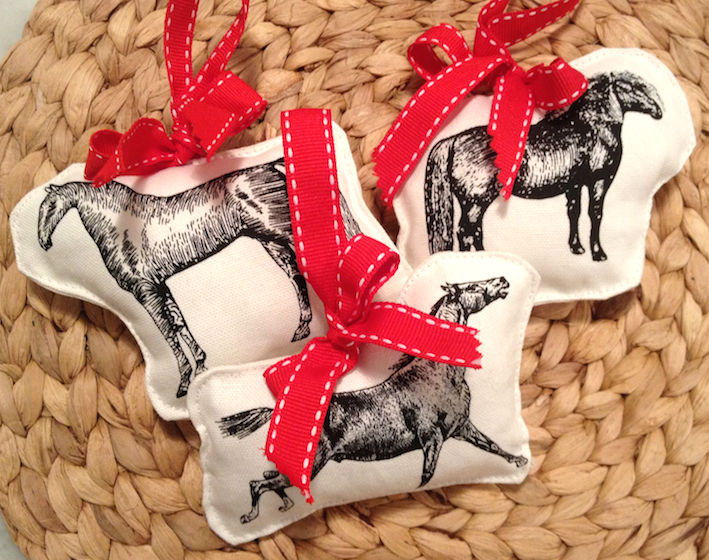
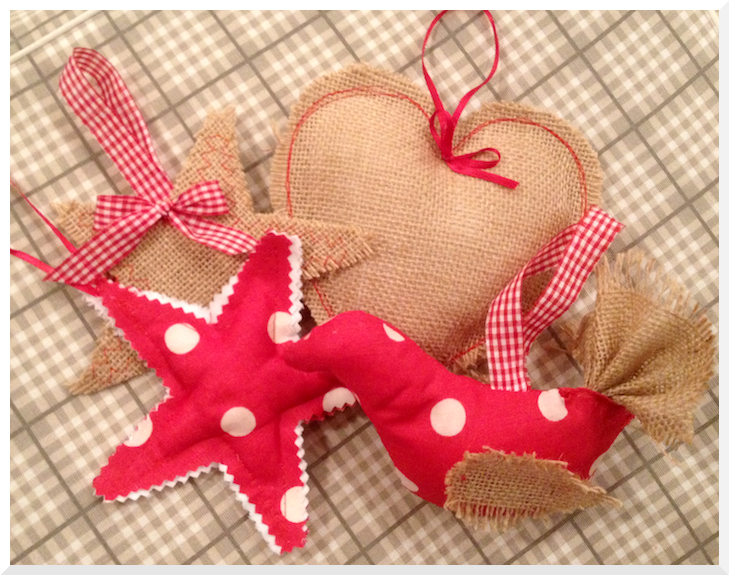
Things just got festiveThe thing about having a blog is that once you post something, it is there as an ever lasting record of your delusional intentions. So, in an attempt to actually follow-through on my prior, festively-inspired assertions I thought I would share with you some nifty little decos I have knocked-up over the previous week, ready to be hung pride-of-place on our brand spanking new tree come December 1st. I could lie and say it was the handmade dream that shaped these little beauties, however, it was basically an entire lack of available bulk-pack baubles in colours other than brothel-pink or gumboot-blue. Starting in the sales last year, Lisa and I have been slowly collecting one-of cheapy decos that catch our eye - however - we realised with some dismay that a year of collecting has yielded about enough decorations to fill approximately the bottom 1/7th of the tree (it seems we had unrealistically high standards for what we were willing to pay £1 for...). So, in desperate need of fillers, and having been let down by Tesco and ASDA (before the final insult... nothing suitable at M&S) I decided to get sewing. As a point of discussion - what is with the creepily-muted frosted colours of this Christmas season?? You will need:1. Small odds and ends of fabric 2. Ribbon/twine for hanging 3. Pinking shears (ideally) 4. Stuffing (mine is nicked from an old cushion) 5. Contrasting cotton for machine or hand-sewing (I used a machine). 6. Assorted festive shapes as templates - I used hearts and stars but you can use stockings, snow-men, christmas trees - whatever you like! Just be sure they are an easy silhouette to cut out and sew, and that they are instantly recognisable. DECO#1 Have a HeartChopped up from a tea-towel, this little heart pack was super simple and made a nice little collection without being too same-samey. You want people to see that you slaved away making these by hand, you know! 1. Use Microsoft Word to draw a heart shape template (insert > shape) at the desired size, print and cut out. 2. Pin template to a tea-towel folded in half horizontally (so the pattern runs the same way on both sides) so you are cutting the front and back hearts at the same time. 3. Cut out heart shape using pinking shears. 4. Cut a piece of twine or ribbon for use to hang your decoration. 5. Sandwich the ribbon/twine between the two hearts so a loop is extended from the top of the decoration at the right length (it may be an idea to put a knot at the bottom, just for some extra hold once sewn). 4. Right sides facing out and using contrasting cotton, sew around 4/5ths of the heart leaving a small opening for stuffing. 5. Stuff the heart (not too much). 6. Sew the opening closed. 7. Voila! DECO#2 Ponies for the ponyYou know already that my stumpy little legs have earned me the nickname of Shetland Pony. So, I figured what better addition to my tree than a few little ponies of my own? This method can be applied to any fabric with shapes or designs already printed on it (when I saw this fabric a few months ago, I knew I HAD to have it, but hadn't come up with a purpose until now). 1. Lay the fabric image you want on a piece of complimentary backing fabric (I used cheap calico) and cut around the image through both pieces - giving as generous a border around your image as possible (it's helpful if your fabric isn't too busy and you have plenty of neutral fabric around the shape itself). 2. Place the pieces with right-sides facing together. 3. Sandwich a piece of ribbon/twine between the two piece of fabric with the hanging loop inside (remember, you are going to be turning this right way around). 4. Sew around 3/4 of the shape in a freeform fashion allowing a 1cm seam if possible. 5. Using the opening you have left, turn the deco the right way around. 6. Using the opening once again, stuff the decoration with just enough stuffing to be effective. 7. Turning in the seams of your opening, top-switch around the entire decoration as close to the edge as possible (you may need to manipulate the stuffing inside as you sew to avoid catching it in your stitches). 8. Finish with a complementary bow tied around the base of the hanging loop. 9. Finito! DeCO#3+ Just keep sewing!Hessian, festive fabrics and ribbons are your best friends, so using variations of the methods above - sew to your little heart's content. The only rule is not being too fussy - forget hems and pernickety finishings - embrace the rustic, homemade feel and you'll be running off decos of all kinds in just minutes. Happy decorating!
2 Comments
|
The detail...A big dollop of love from my finger tips to your screen (I promise that's not as creepy as it sounds). xx Categories
All
Archives
April 2018
|
 RSS Feed

