 Skill level: Beginner Time: 10-15mins each (2-3 mins after you make 100+) In relaunching the blog under its new moniker (redesign and general jazziness still to come), I wanted the first post to be a little DIY 'how to' on wedding favour bags for a few reasons:
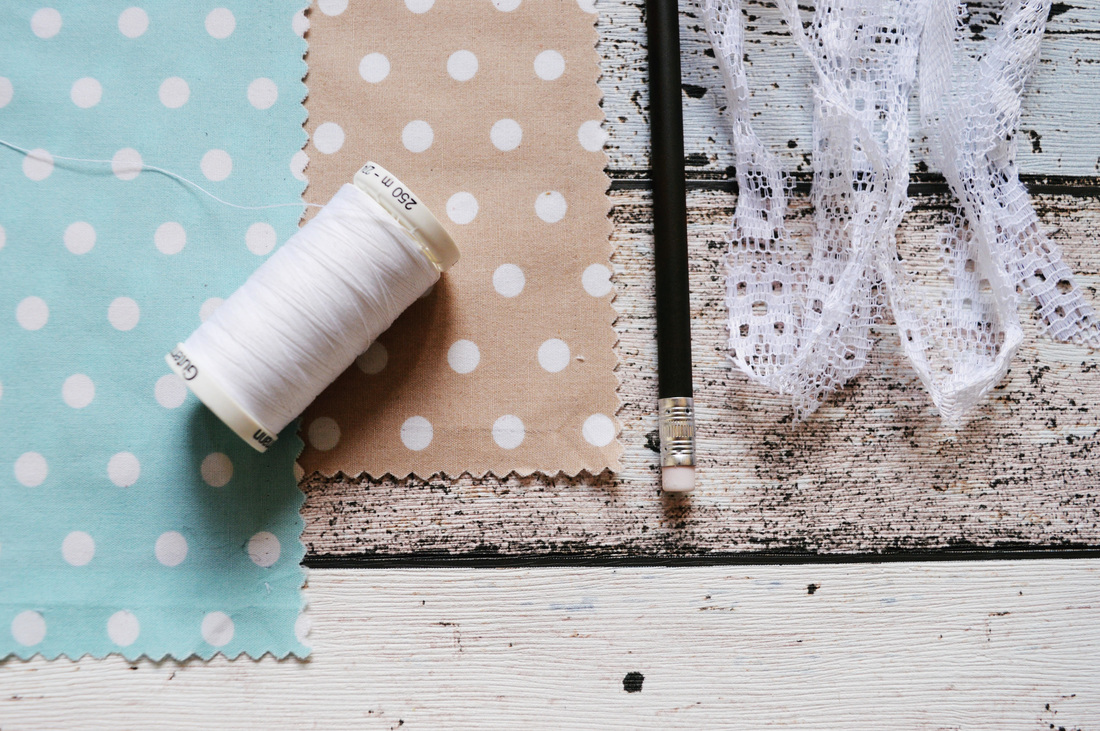
You will need: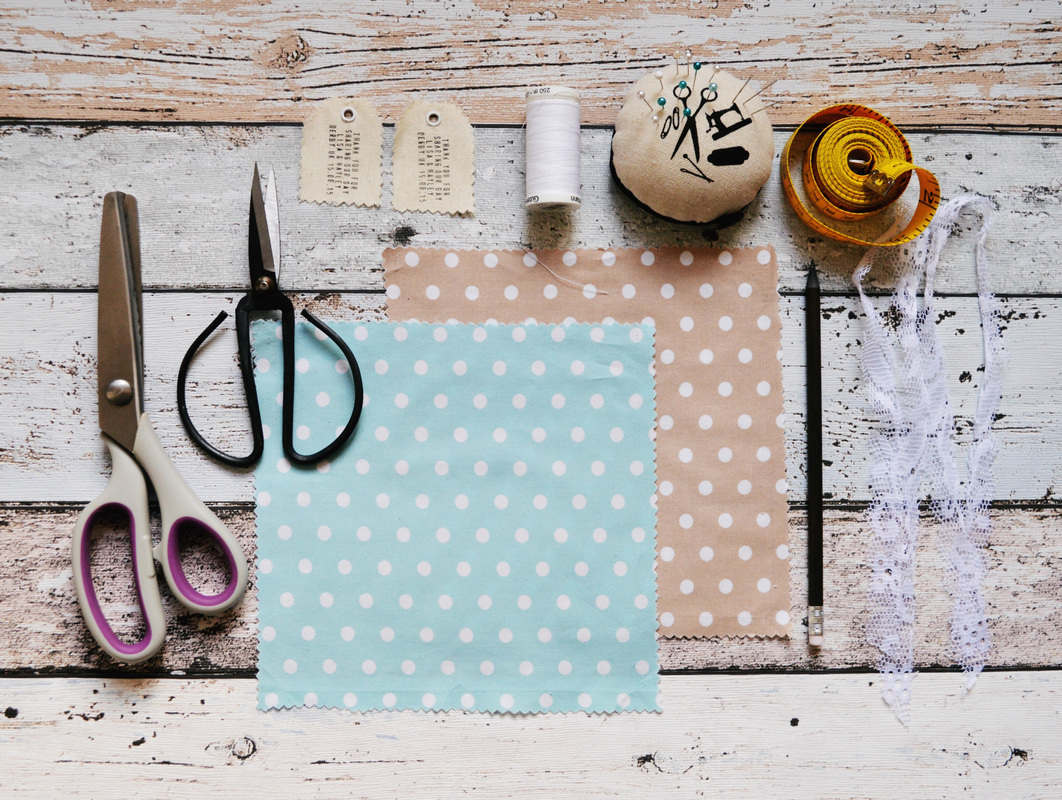
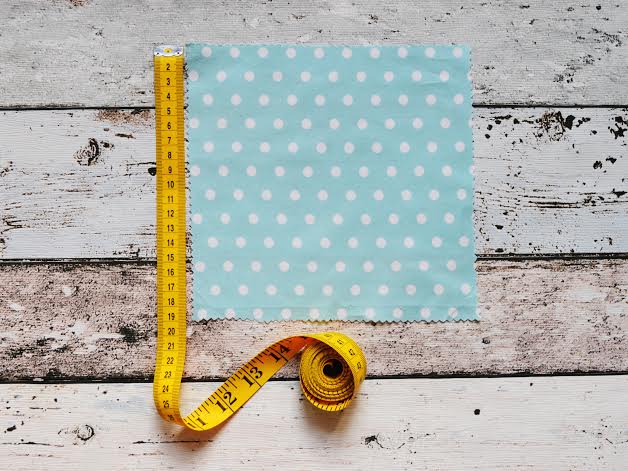
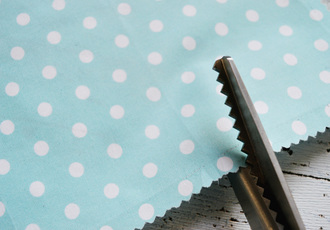
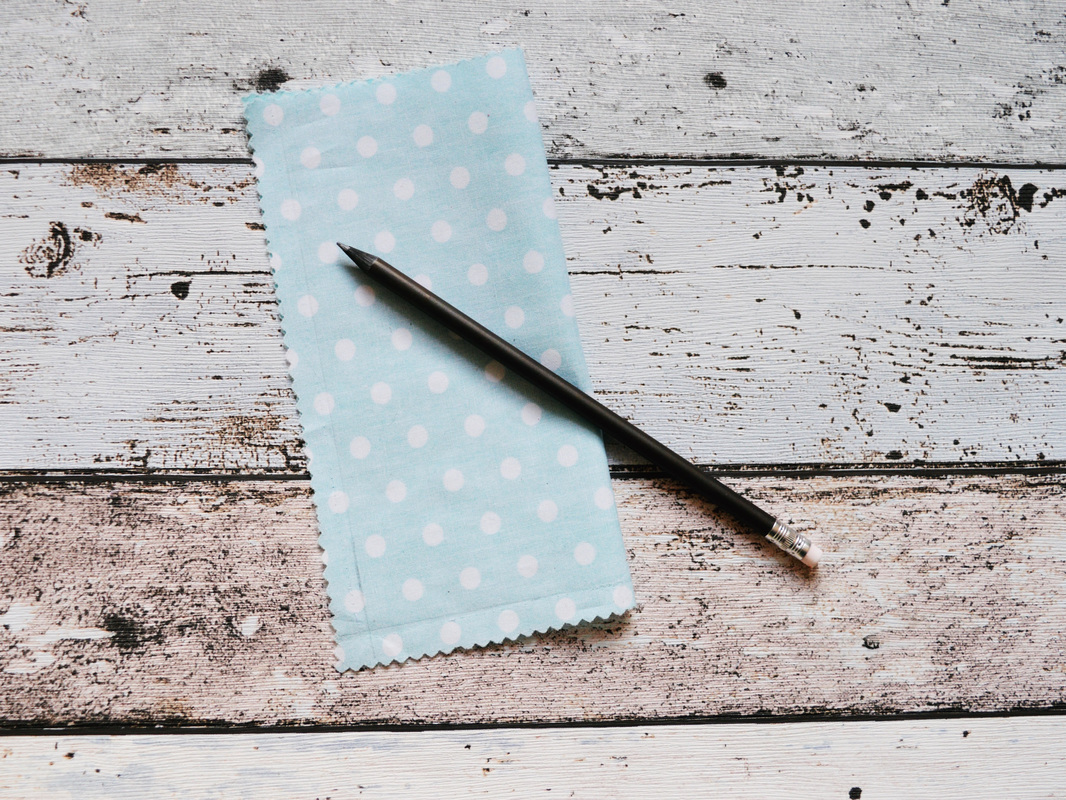
method:Step 1: Choose dreamy fabric and cut to whatever size your favour-stuffing heart desires. Mine are 20cm (w) x 19cm (h) (yes, that whole centimetre did make a difference to the ratio...). The pinking shears will give your bag a fancy detail at the top and save you the need for hemming (did I mention you won't need to hem them?).
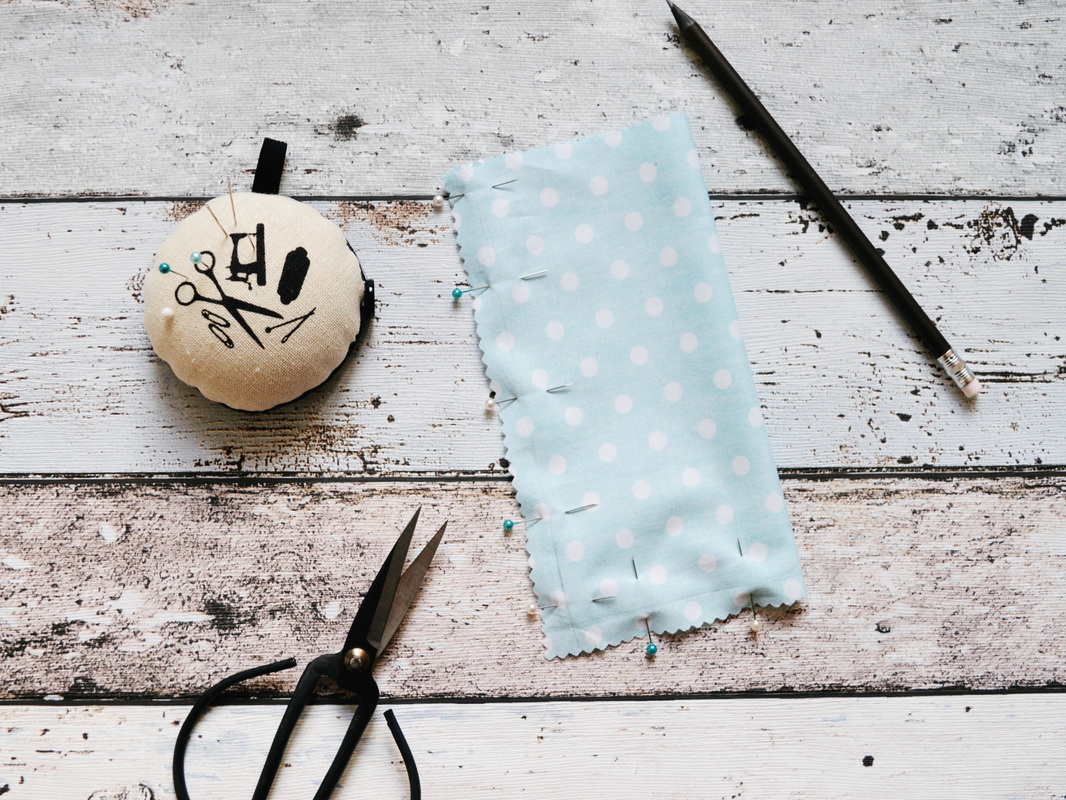
Step 2: Fold your fabric square in half, right sides facing in, and mark a little 1cm pencil line on the open side and bottom. This is your sewing guide (make the line as faint as you can to avoid detection through the fabric, though - don't panic - an eraser can deal with a heavy line). Pin together.
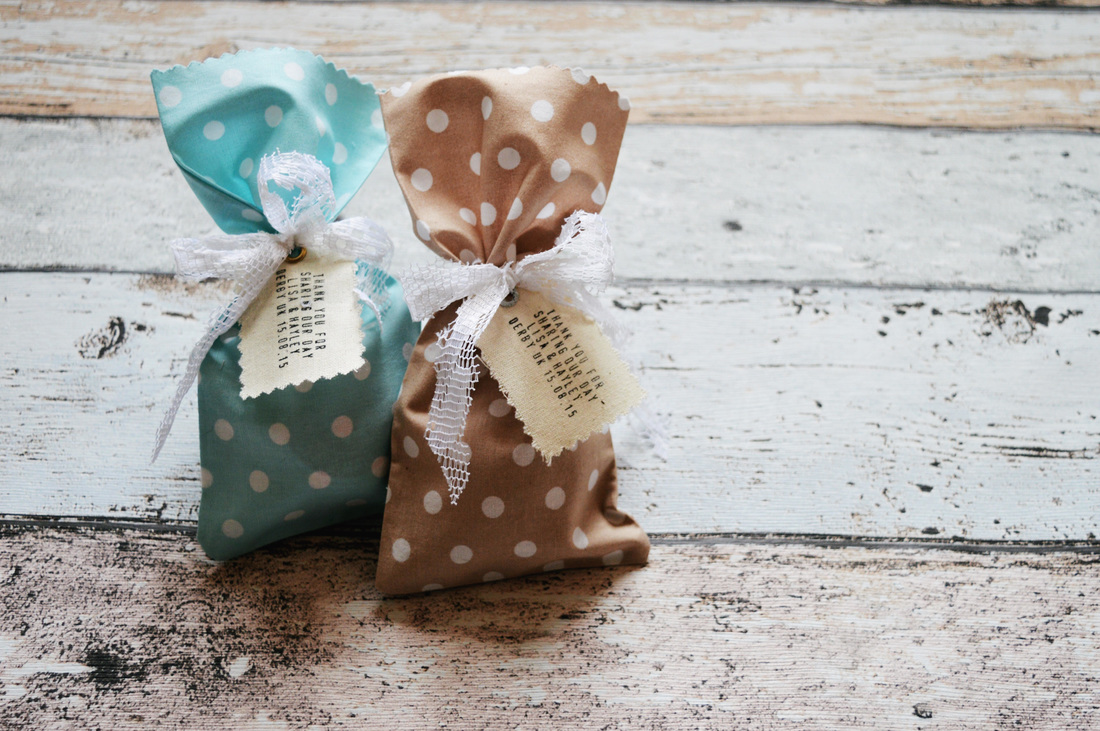
Step 3: Sew along the lines on your machine or just as easily with a needle and thread (I recommend a good Netflix line-up to accompany hand sewing. Especially if you have a bucket-load of guests...). Once sewn, turn the bag right-side out and press. 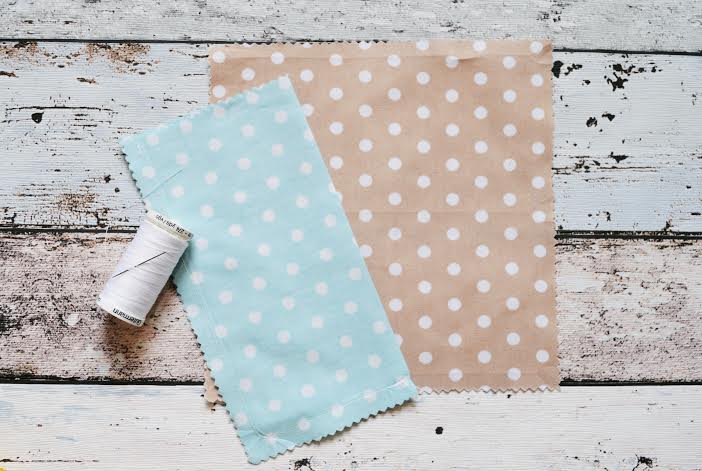 Step 4: Make as many bags as you like, stuff them full of goodies, add a personalised tag and tie with your chosen ribbon. 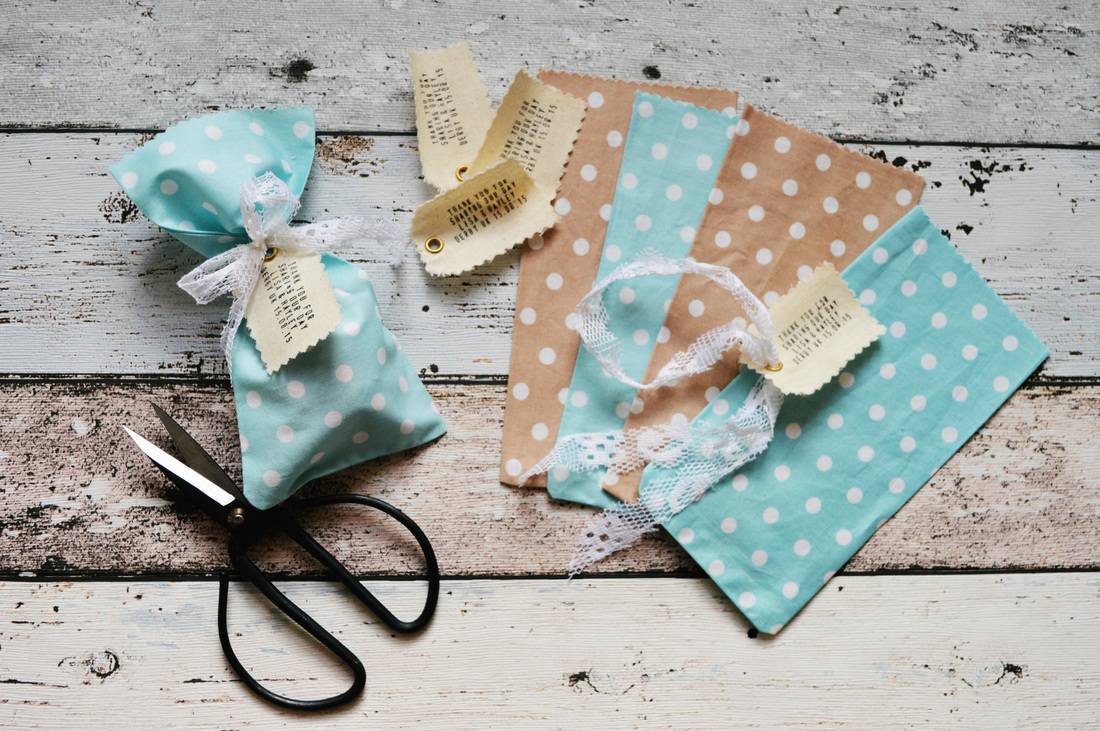 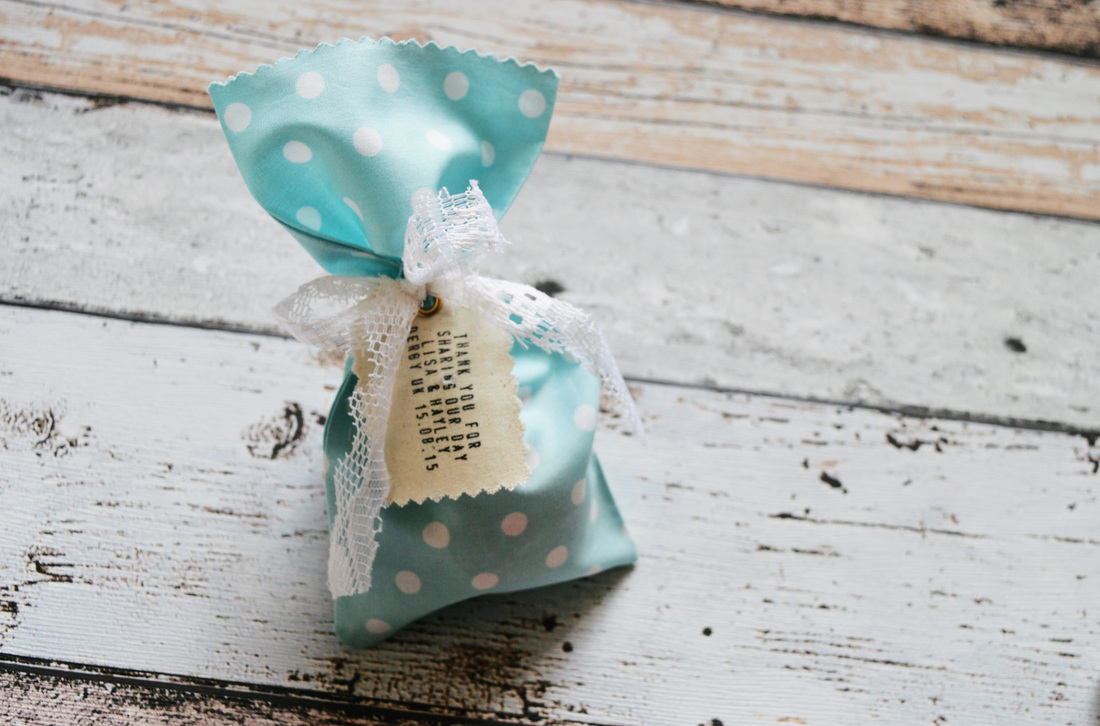 Voila! Happy sewing!
1 Comment
|


The detail...A big dollop of love from my finger tips to your screen (I promise that's not as creepy as it sounds). xx Categories
All
Archives
April 2018
|

 RSS Feed