 In case the heading off this website didn't make it excruciatingly obvious: I have a big bum. The thing about big bums is they tend to be bolstered by big thighs, which are in turn bolstered by big calves and so on and so forth. Unless of course you are like my friend Laureen and your hypnotic, full booty is balanced upon equally delicious long legs. But we're not talking about her. The up-side of being painfully pear-shaped is that the middle of the pear has, what could be referred to as, a waist. A waist which, when accentuated in the right way, gives the wisp of an illusion that the pear is a slightly leaner fruit than it might otherwise appear in the cold hard light of the fruit bowl (okay, I admit, that metaphor was overdeveloped). So, with this in mind, I set about whipping up a skirt that met two essential criteria:
To meet criteria 1, I figured all zips, tricks and sewing-of-things-other-than-straight-lines needed to be eliminated. To meet criteria 2, I figured the more fabric the better. Thus was born, The Pony Skirt (I haven't yet introduced you to the origins of the nickname 'Pony' but I'll save this for another time). If you are happy to dedicate just a couple of hours in return for a skirt which will, without question, become your weekend go-to, then get onto following these fairly deliberately vague instructions. Before I share them - the "deliberately vague" part is important. The thing with this skirt is: I just started cutting. I didn't over-think it, in fact, this skirt was the antidote to over-thinking. For a little while now I have been obsessed with yellow and grey (if you try to tell me this "trend" has been "overdone", you and I are going to have "words"…) and I had purchased a great swath of gorgeous yellow and grey fabric alongside an unexpectedly complicated halter-neck dress pattern. Having procrastinated on actually producing the unexpectedly complicated halter-neck dress in question for nothing short of 7 weeks, a further two things dawned on me...
HOW TO: The Pony SkirtYOU WILL NEED:
STEP 1: CUT THE SKIRT BODY Cut a whopping great big semi-circle using the full width of the fabric from selvedge to selvedge. The inner waist cut should sit perfectly within the centre of the outer cut (the hemline of the skirt). The waist cut should measure the width of your waist plus approximately 20cms (give or take) for overlap. Check-out the sizing guide below: 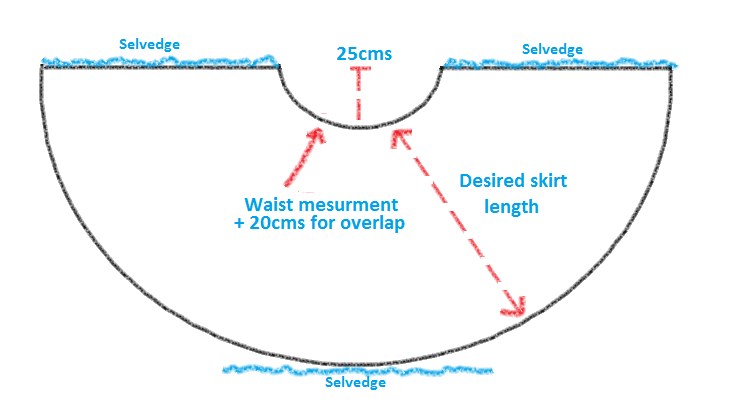 STEP 2: CUT THE WAISTBAND Cut a long slip of fabric to form your waistband. Width = 10cm Length = your full waist measurement +20cm (for overhang) + 80cm (for 2 x 40cm ties).  STEP 3: PREP THE WAISTBAND Iron a 1cm hem around your entire waistband and then press in half, wrong sides together. 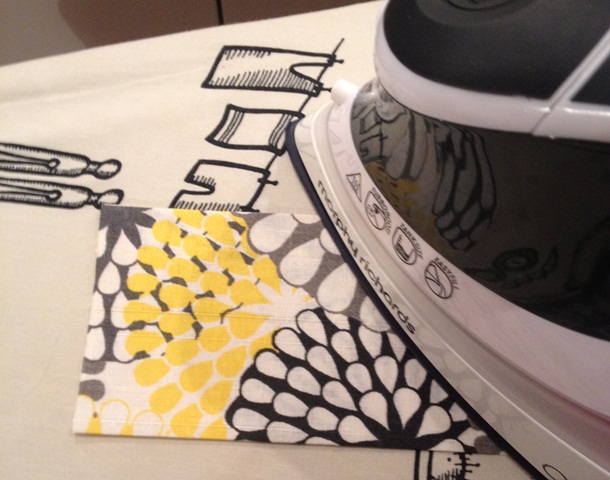 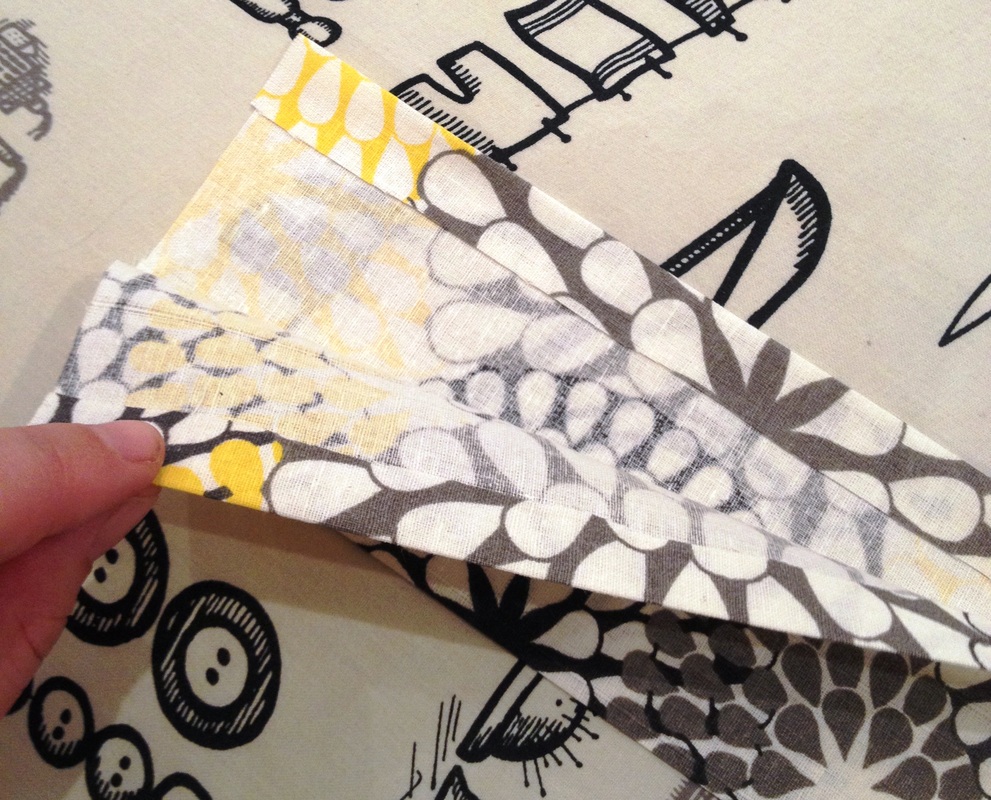 STEP 4: CONSTRUCT THE SKIRT Place the folded waistband over the waist-cut section of the skirt to sandwich the skirt body between the fold of the waistband. Top-stitch the waistband in place (While you're at it, continue to top-stitch all the way along the length of the waistband to hem the ties). 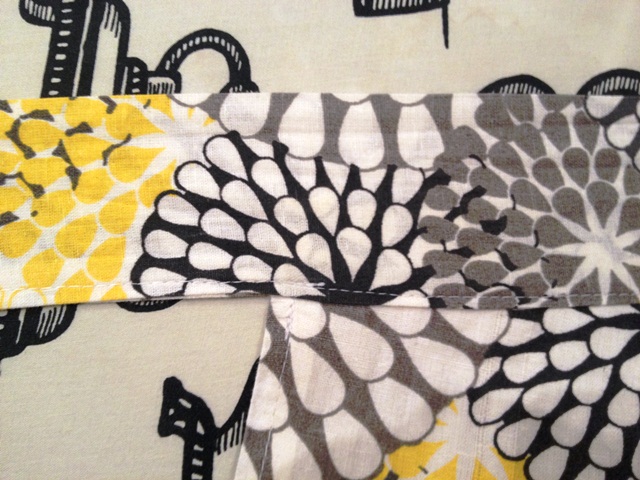 STEP 5: FINISH HER OFF! Hem the skirt and add a button hole where it is comfortable on the side of your waistband. Feed the under-wrapped tie through the buttonhole and fasten the skirt around your gorgeous waist. Pair with a cute top and shoes - Voila! 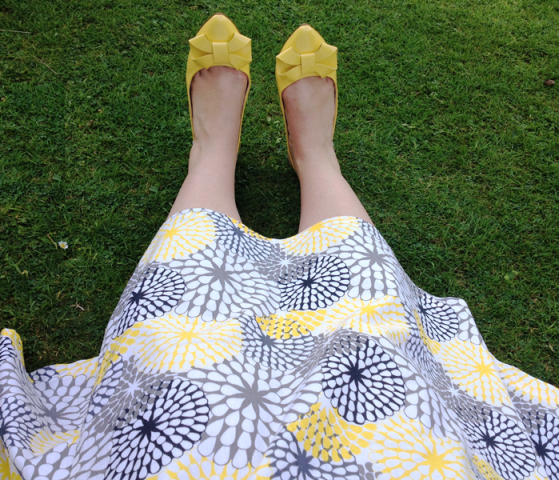 *For any Aussies reading this - "Munter" is one of my favourite British-isms. I needn't actually explain it because the name really says it all.
3 Comments
|


The detail...A big dollop of love from my finger tips to your screen (I promise that's not as creepy as it sounds). xx Categories
All
Archives
April 2018
|
 RSS Feed